
This year I have become increasingly interested in cooking and cooking shows (eg. The Great British Bake Off, The Hairy Bikers Best of British, etc). I thought it might be interesting to document some of the things that I attempt to make. I’ve got pictures of Lemon Drizzle Cake and Flapjacks, but first off … Pizza!
So I made some pizza for the first time ever the other day. This was also my first time making any bread from scratch, so twice the novelty. The recipe I used was from Beginners Get … Sorted by the guys over at Sorted Food. The basic steps are:
- Mix some yeast with warm water and sugar for 10 minutes.
- Add to some flour and olive oil.
- Mix and knead.
- Prove for an hour.
- Fry some onions and garlic and then add chopped tomatoes and herbs. Simmer for half an hour to reduce.
- Add dough portion to a baking tray and bake for 5 minutes.
- Add tomato base and toppings and bake again for another 15 minutes.
Not overly complex but more time consuming than I was expecting. I blame part of that on doing it for the first time. No doubt I will get better at multi-tasking next time.
Anyway, on with the pictures!

Yeast, sugar and warm water.

The dough after kneading, ready to be proved.
I’m no stranger to kneading but that’s been with rice flour which has a distinctly different feel to it. It’s not stretchy like this was. Even though I knew from the theory and the TV shows that it would be stretchy, I was still surprised by the texture. I covered this up with some clingfilm and put it away in a warm place to prove for an hour. Technically, I should have put it in another clean bowl, but … I don’t have another bowl!

Pizza toppings, sliced and waiting.
After sorting out the sauce (no picture, but it’s basically chopped tomatoes so no big loss) I sliced up some mushrooms and peppers. I wasn’t sure what was the right quantity, hence laying it out on the baking tray I intended to use, to gauge the right amount. Although not in this picture, I also added some anchovies, because why not.
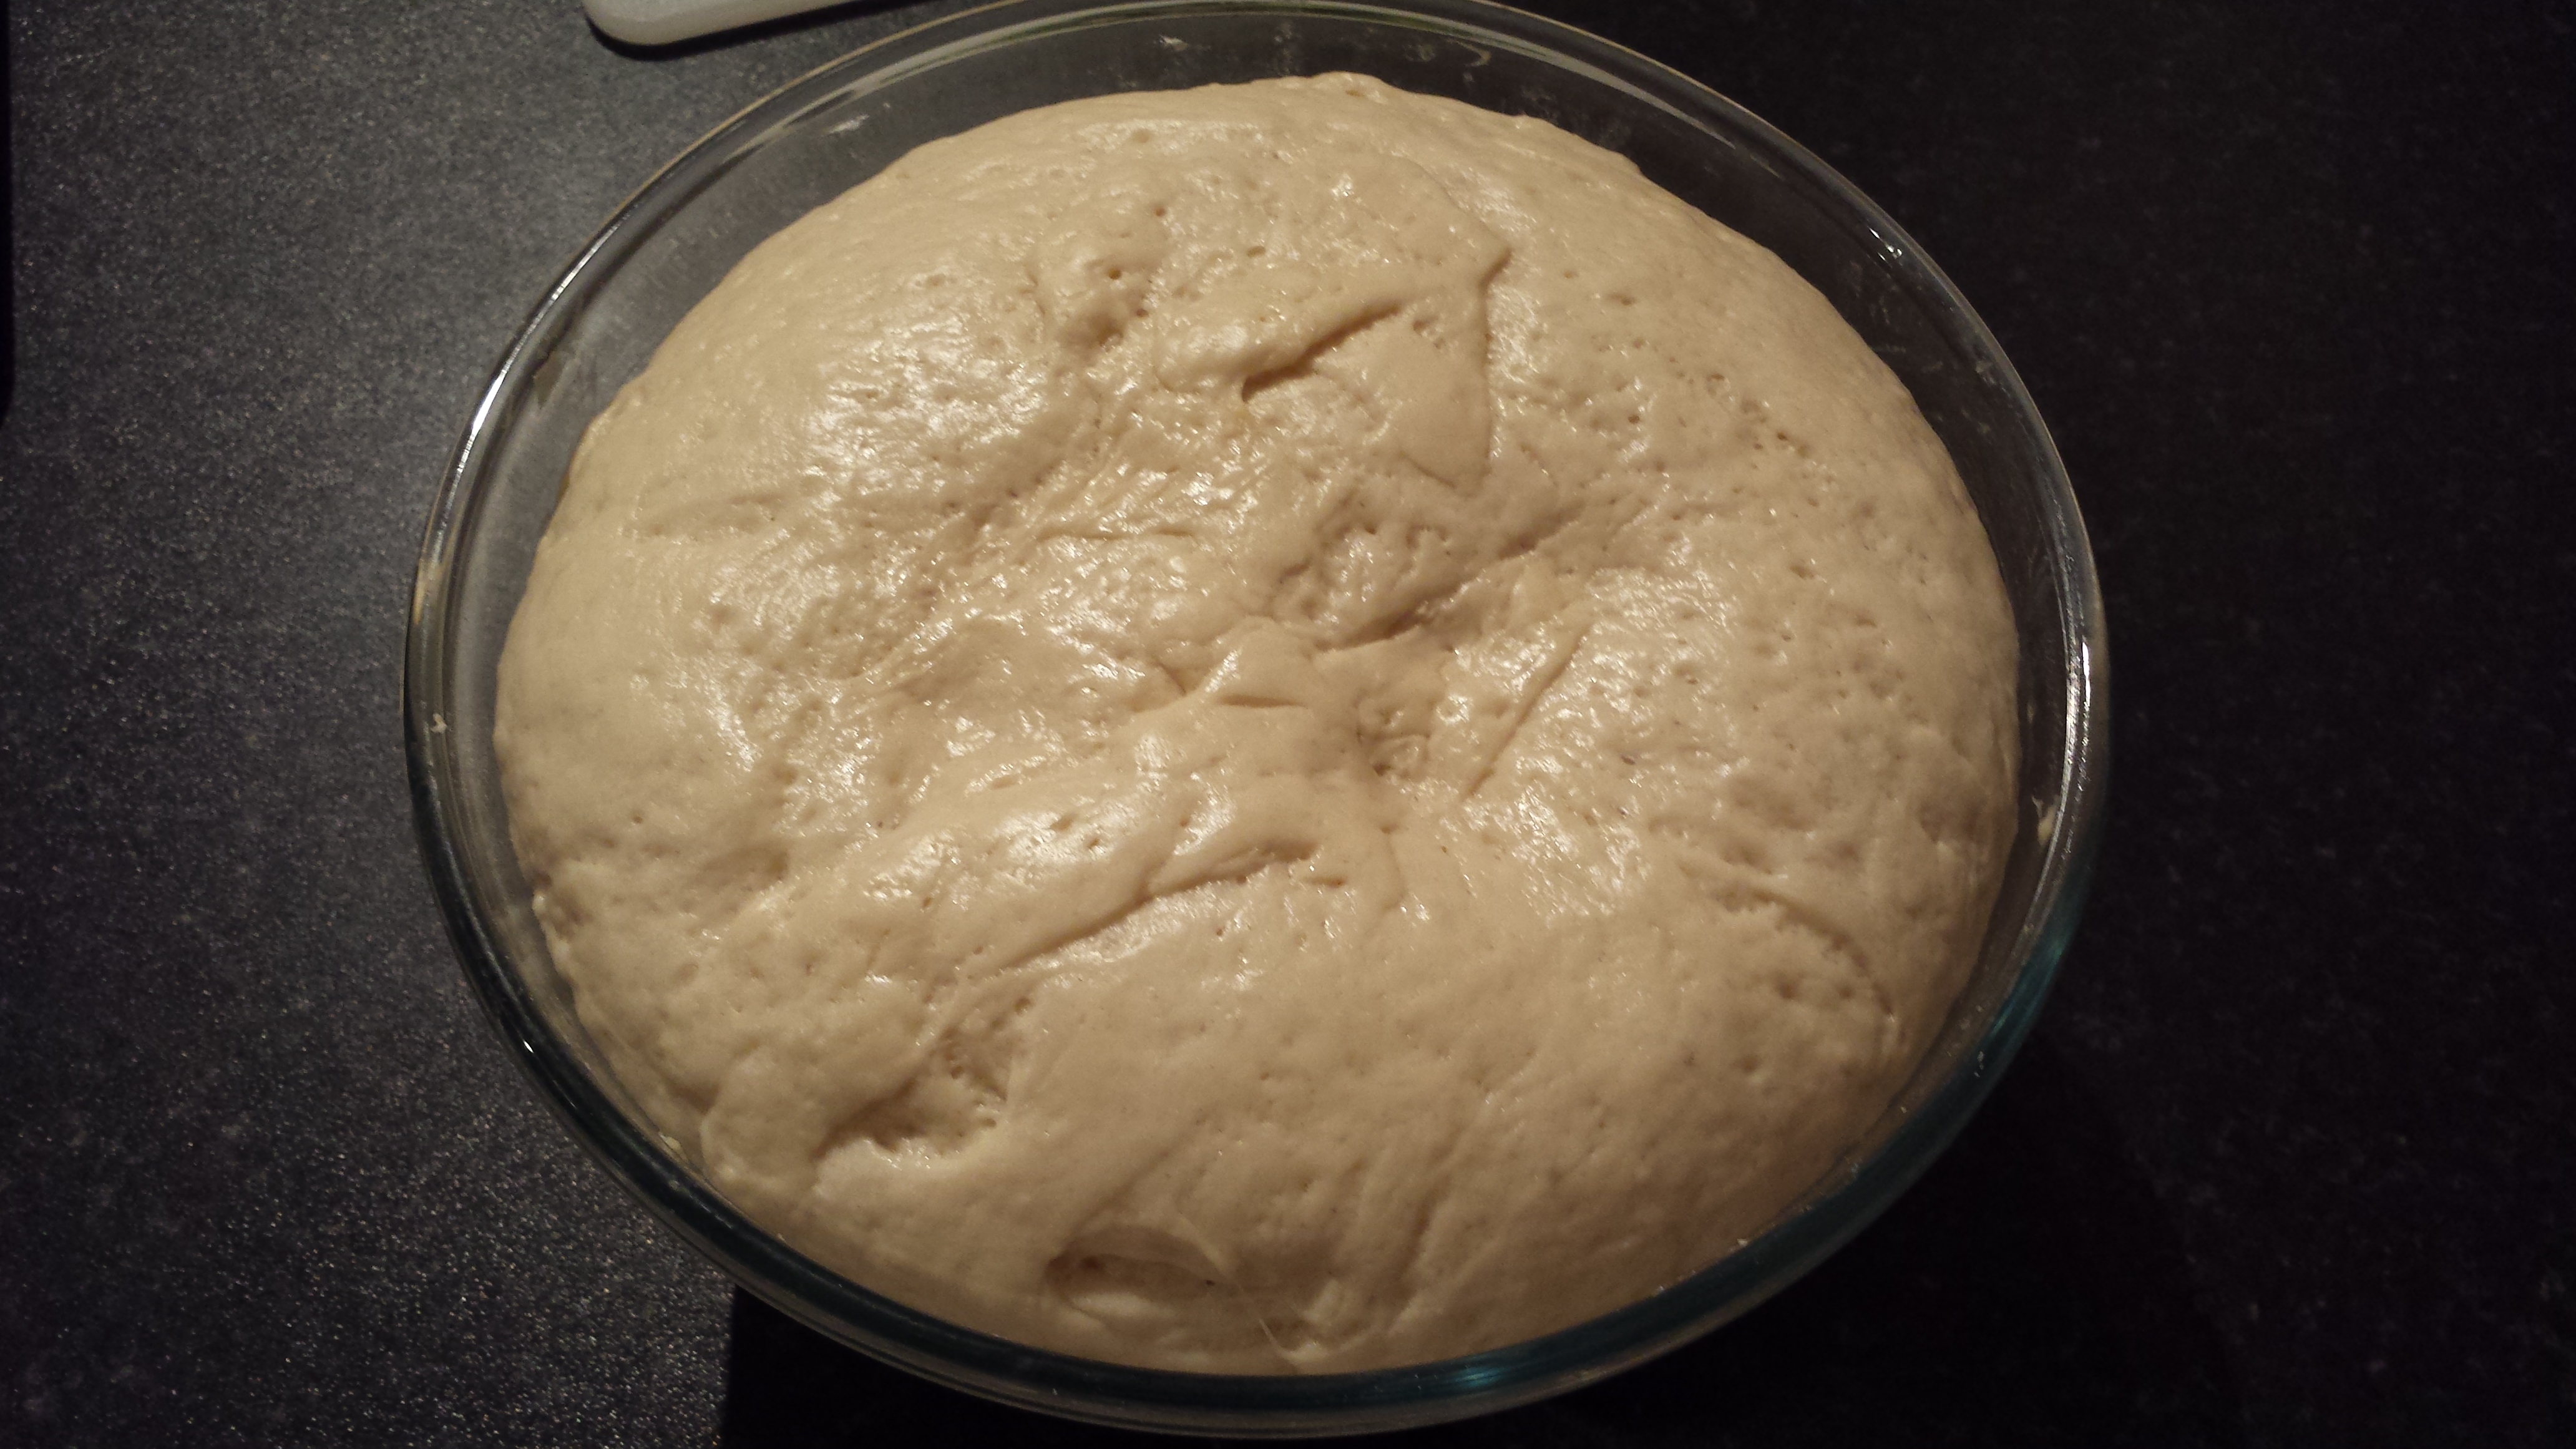
The pizza dough after an hour of proving.
Once again, even though I knew the dough would double in size, it was still a nice surprise to see it actually happen! I grabbed a portion and laid it out on an oiled baking tray (stretchy!) and baked that for five minutes. No picture of that, but it was interesting to see how quickly it firmed up.

The fully assembled pizza, ready to go into the oven.
So after the initial bake I laid on the sauce and the toppings. You can spot one of the shiny anchovies in the top right. It was already looking yummy at the stage.
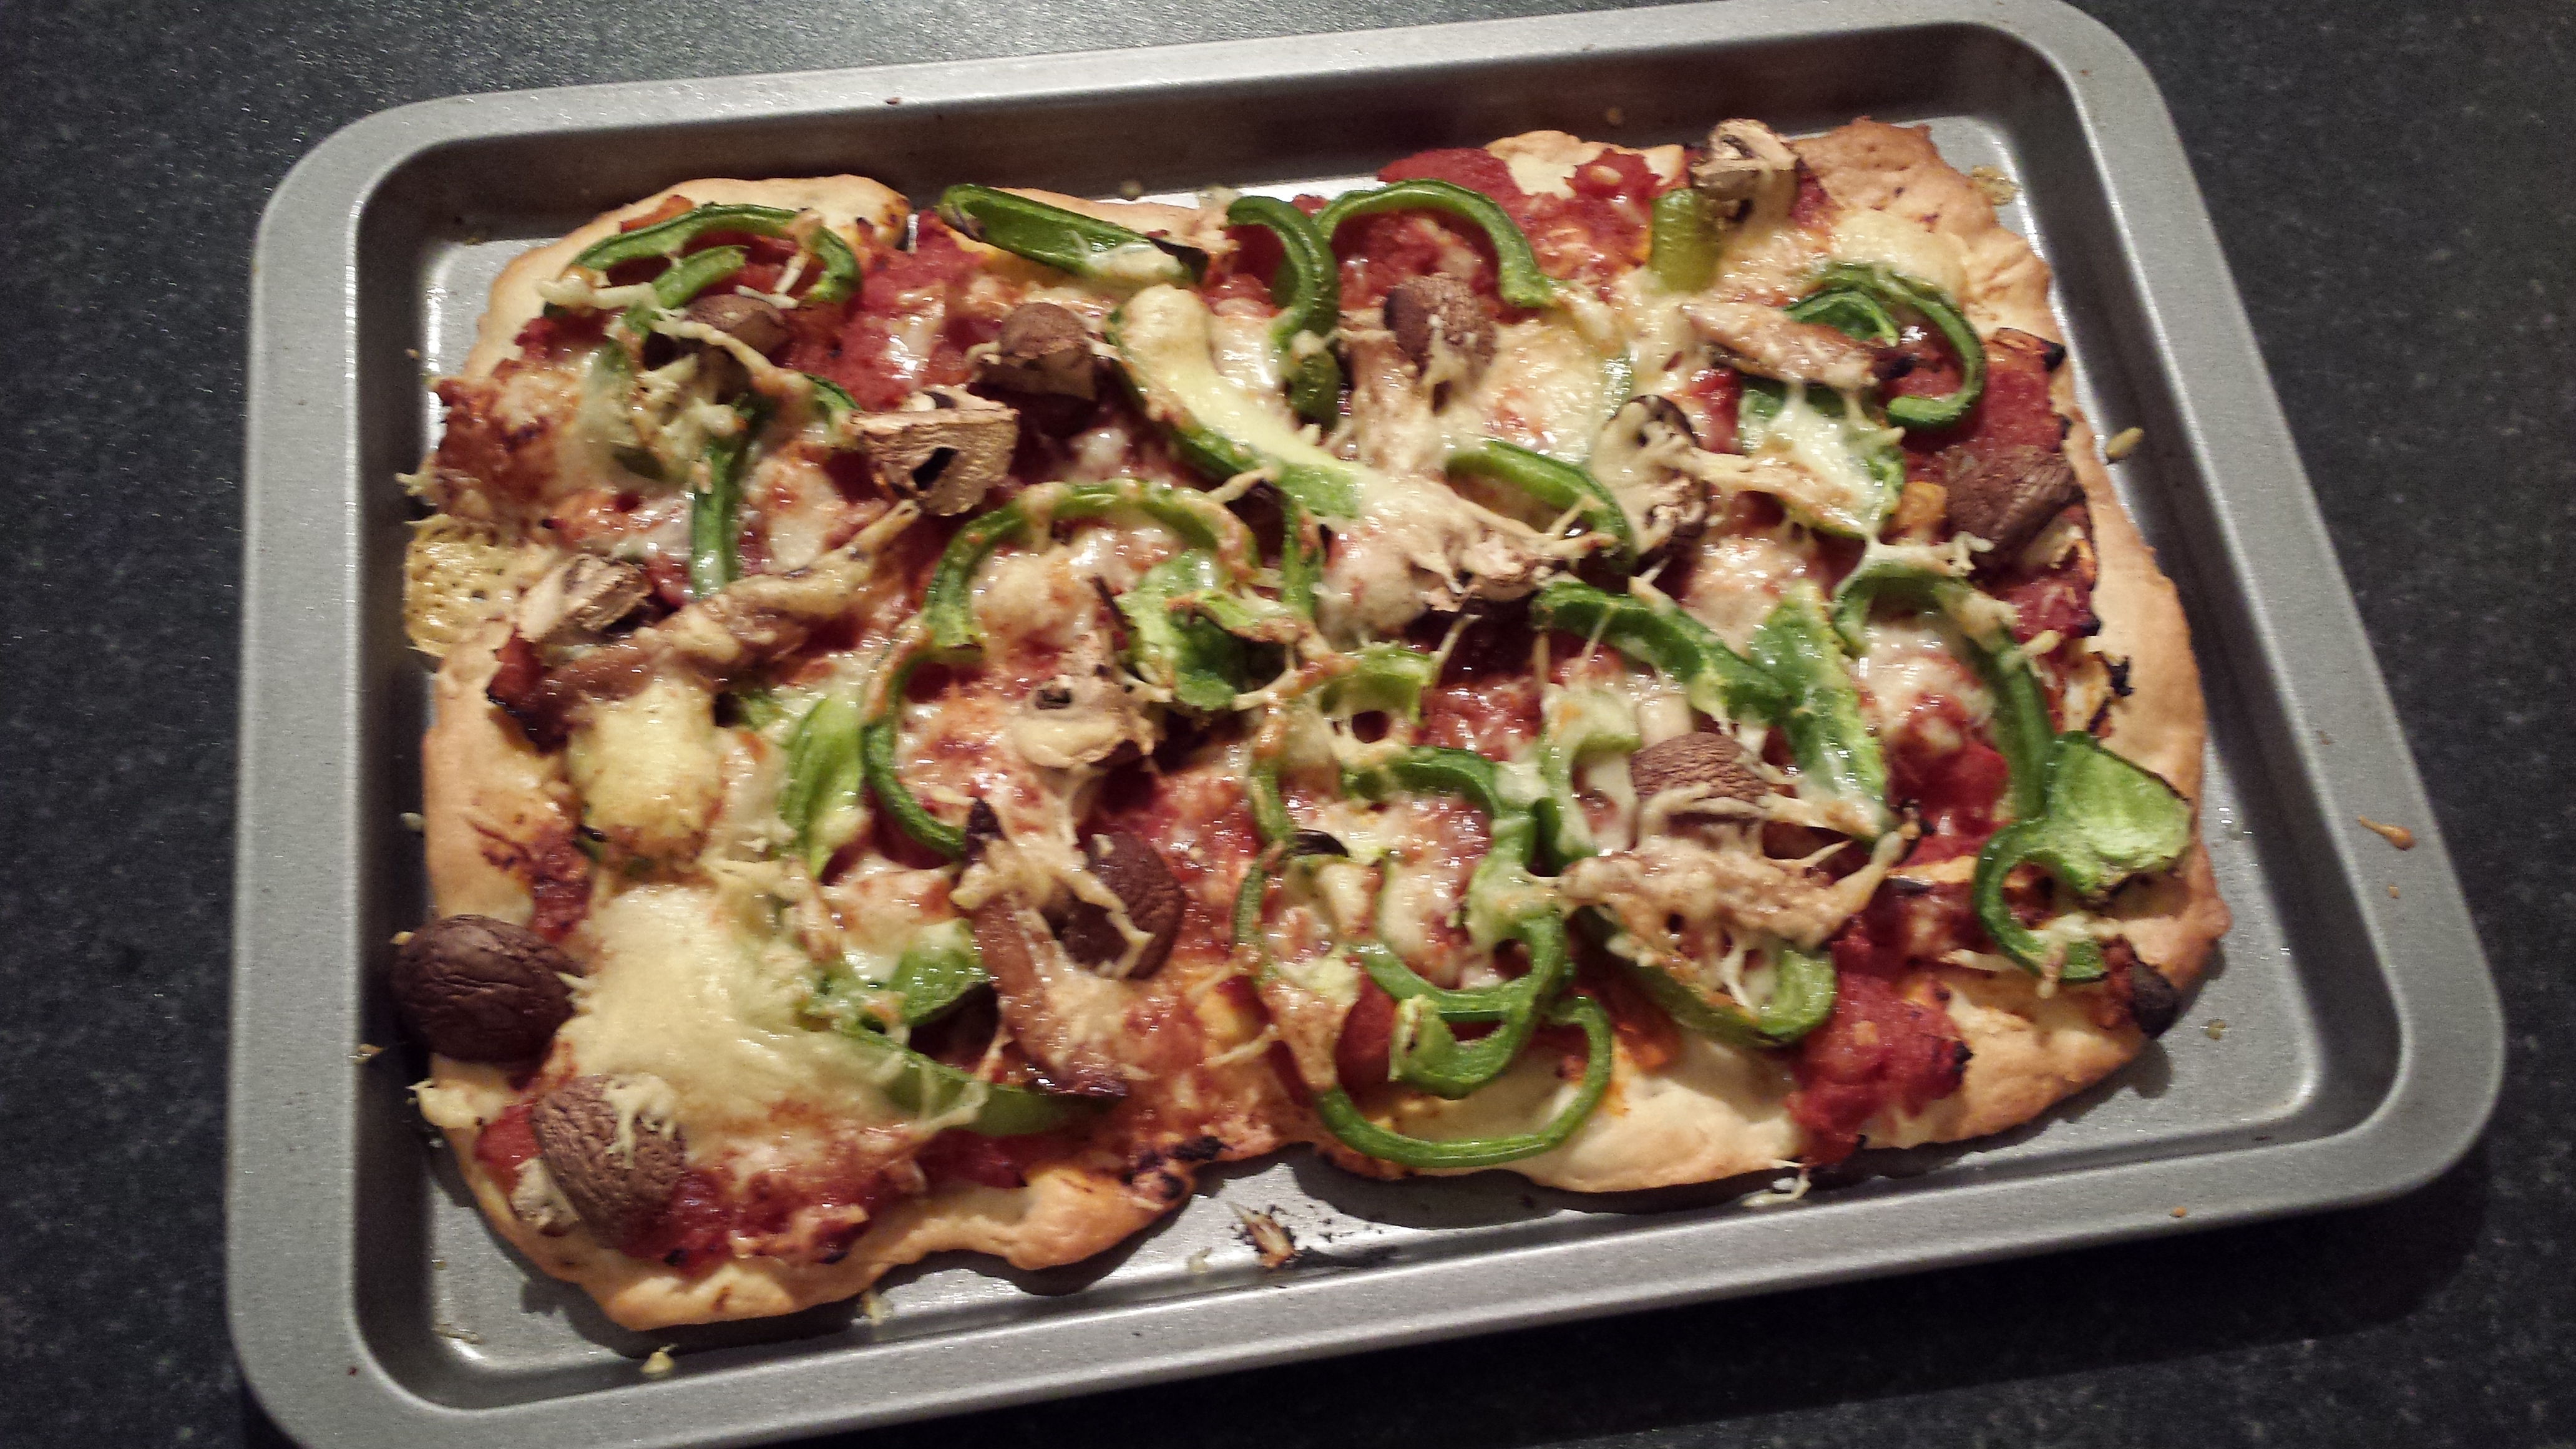
The finished pizza, straight out of the oven.
And here it is, out of the oven. The cheese is a little unevenly distributed, but it looked fine.

The end product. A slice of pizza and some baby gem lettuce.
And finally after all that time I got to finally eat it! And it was very very nice. This pizza only took part of the dough so I used the remainder to make two more bases and they are now in the freezer, ready for another day.
Things to try next time
- Use a different cheese. I used grated cheddar, but something like the more traditional mozzarella or maybe some crumbled blue cheese might be interesting.
- Different toppings, obviously! Not sure what, though.
- A second kneading after the proving. This recipe didn’t ask me to, but I have seen others that say I should. Will be interesting to see what effect that has on the dough.
- Make up a large batch of the tomato base and freeze it. Fresh is no doubt nicer, but using pre-prepared will definitely be faster.
- Add some rocket at the end to make it look a bit more fancy.
